Background: When no corresponding diag connector for a motorcycle, M003A can
be used for diagnosing.
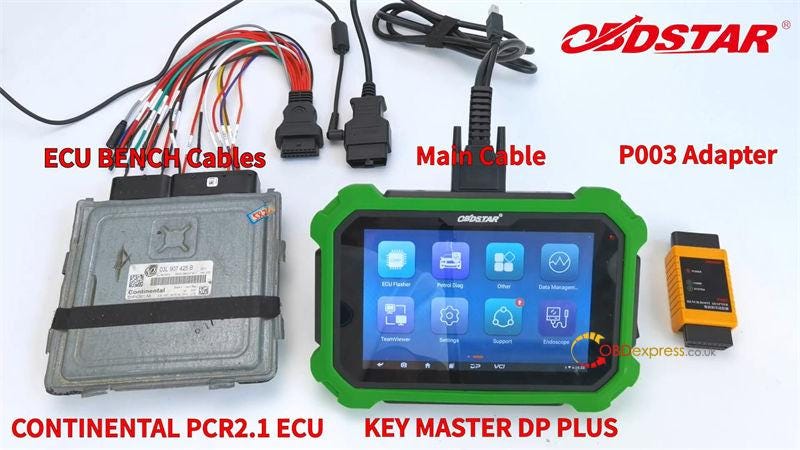
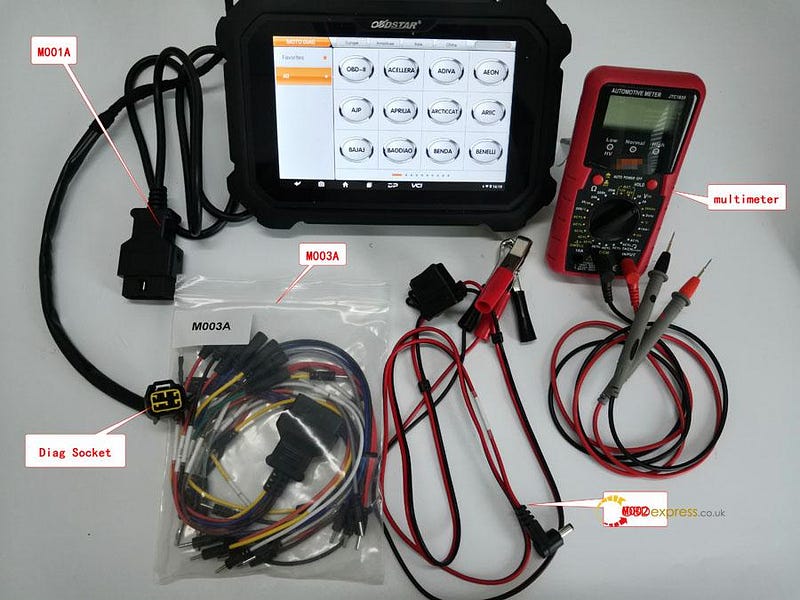
Preparation: OBDSTAR MS80, M001A, M003A(Multi-functional Jumper), M002,
Multimeter, Cables connecting with Diag Socket. (M001, M003A, M002 are included
in the OBDSTAR MS80 package for free)
Tips: connecting negative pole of an external battery with negative pole of
motorcycle via M002A to get power
Solutions: Using OBDSTAR M003A to diagnose motorcycle
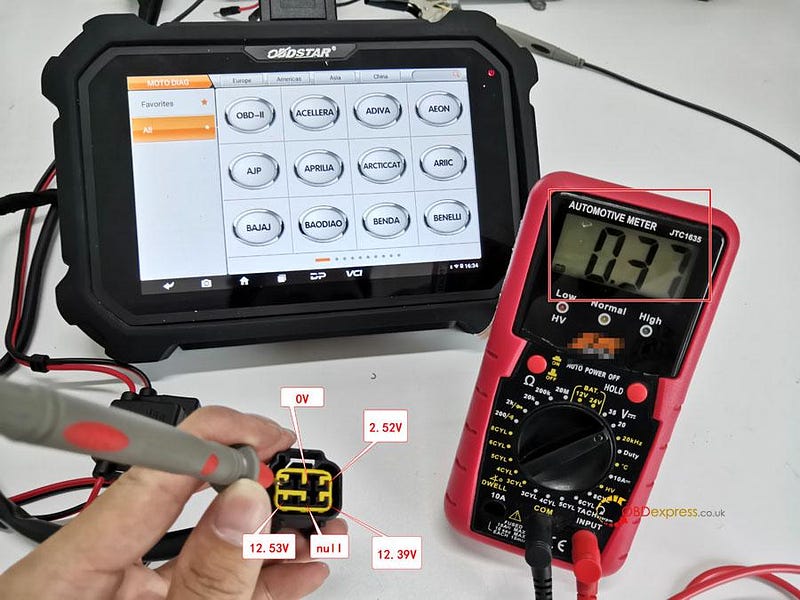
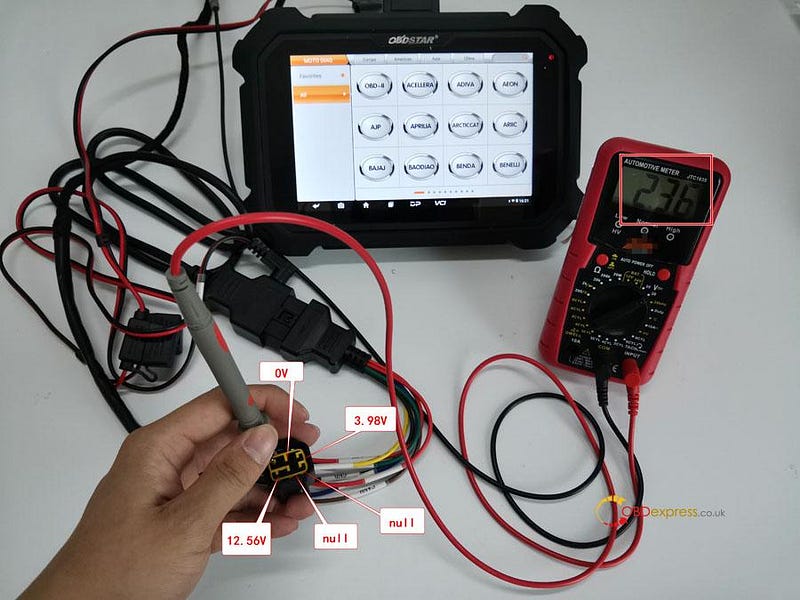
Details Steps: Multimeter detects each pin boot's voltage of diag socket.Its
voltage reaches DC 20V, the black pen connecting with battery's negative or
putting up iron and the red one detecting each pin boot's voltage of diag
socket.
Battery cable=battery voltage;
GND=0V;
Communicating cable: K cable (one cable), CAN cables (two cables);
K cable: its voltage lower 1–2V than battery
CAN cable: CAN-H cable & CAN-L cable, CAN-H cable's voltage ranges from
2.5~3V; CAN-L cable's voltage ranges from 2.0~2.5V.
Diagnosing via K cable
①Majority motorcycles are communicating via K cable. Judging from each pin
boot's voltage as below, 6 pin boot(12.39V) is for K communicating.
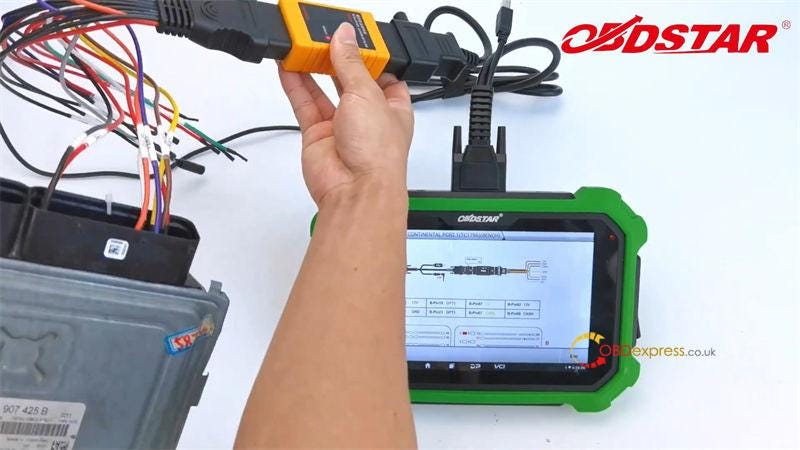
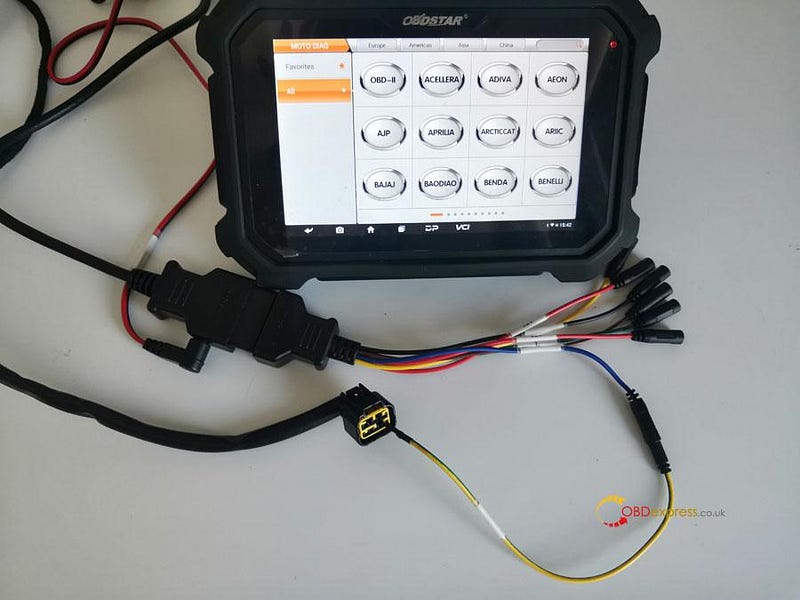
②Connecting M001A with MS80 and M003A, pls connect K cable of M003A with 6
pin boot(12.39V) via 7 cable from M003A. Clipping the black clip of M002 onto
battery negative and the red one onto battery positive, then pls connect the
other end of M002 onto M001A for charging. Pls ensure the indicator at MS80
upper right is on.
Tips: If the indicator at MS80 upper right is off, then it might be 5A fuse
has been broken. If a new one is broken again, pls check the motorcycle's
voltage is normal.
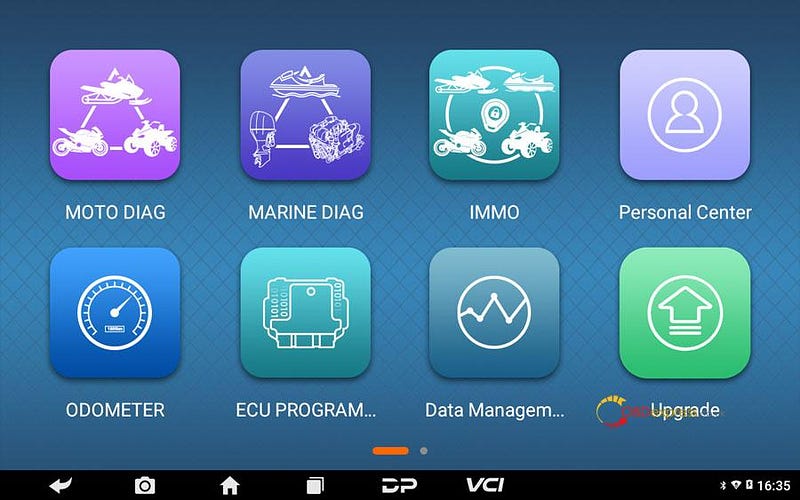
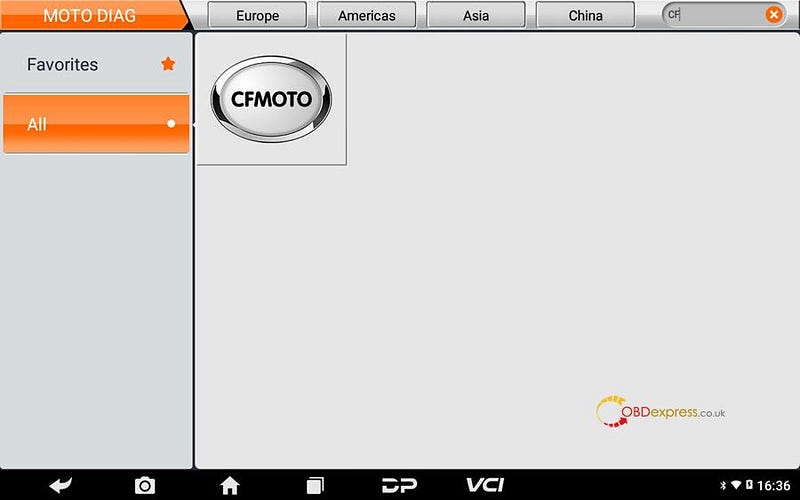
③Click [MOTO DIAG];
④Click [All], input letters such "CF" in search bar, click [CFMOTO];
Tips: by searching keywords, find out related models quickly.
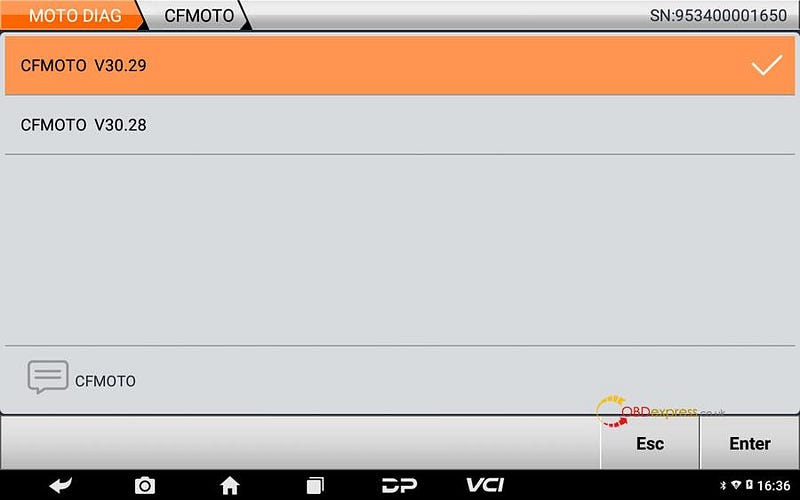
⑤Click the newest CFMOTO edition;
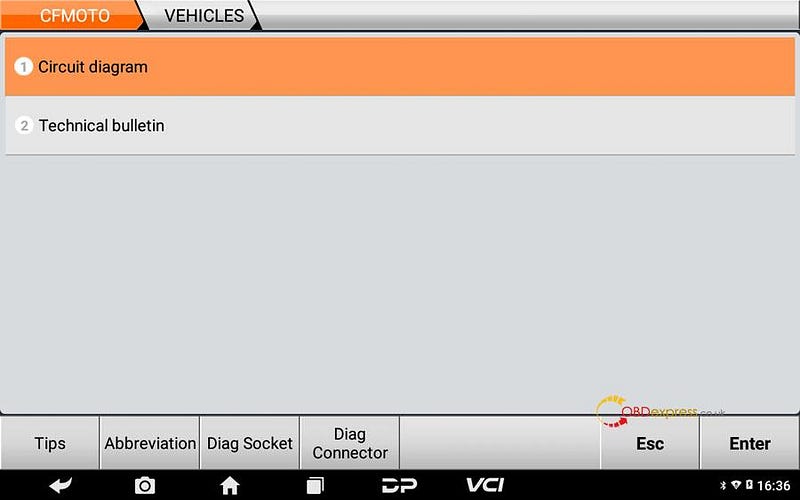
⑥Click [Circuit diagram];
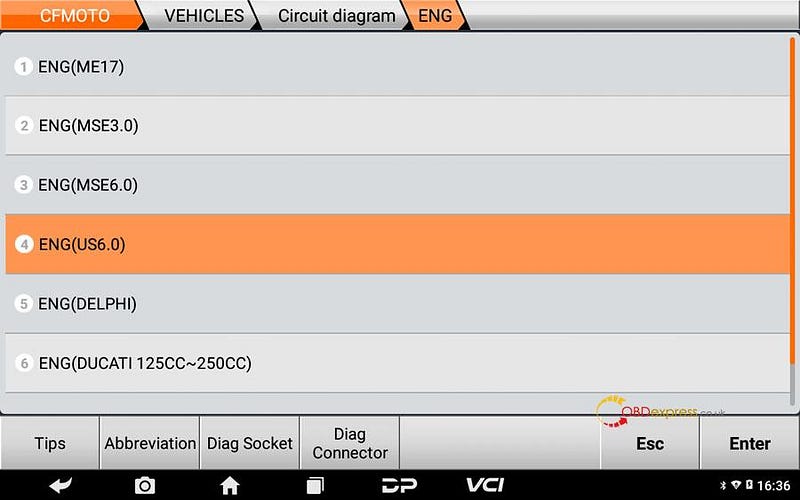
⑦Click [ENG];
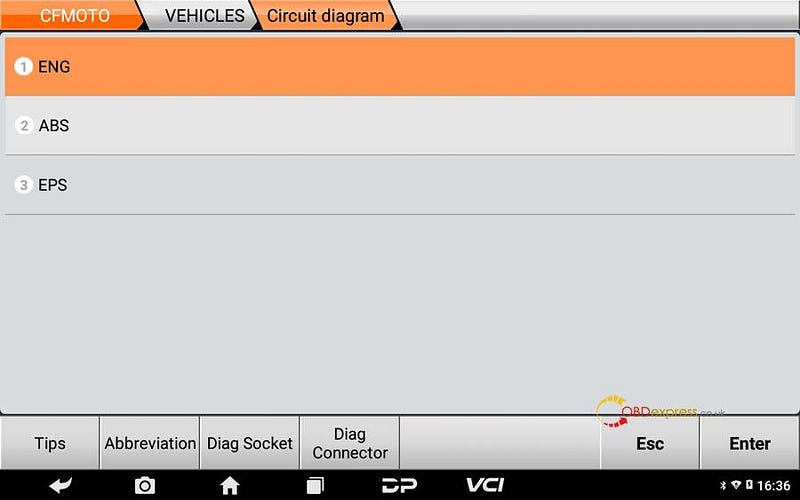
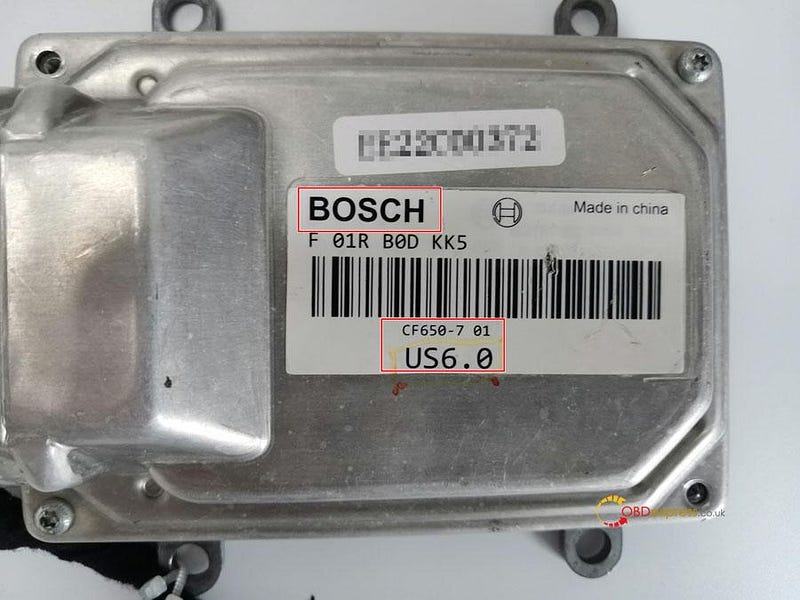
⑧Choose corresponding system with ECU, for example BOSCHUS6.0, then click
[ENG(US6.0)];
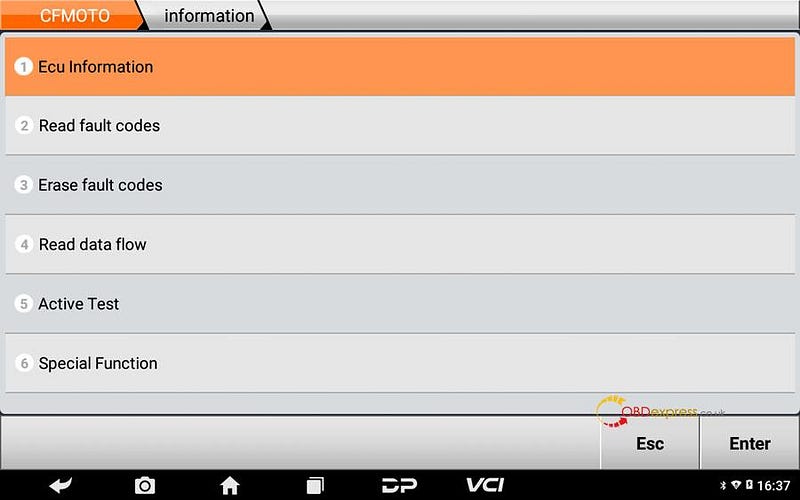
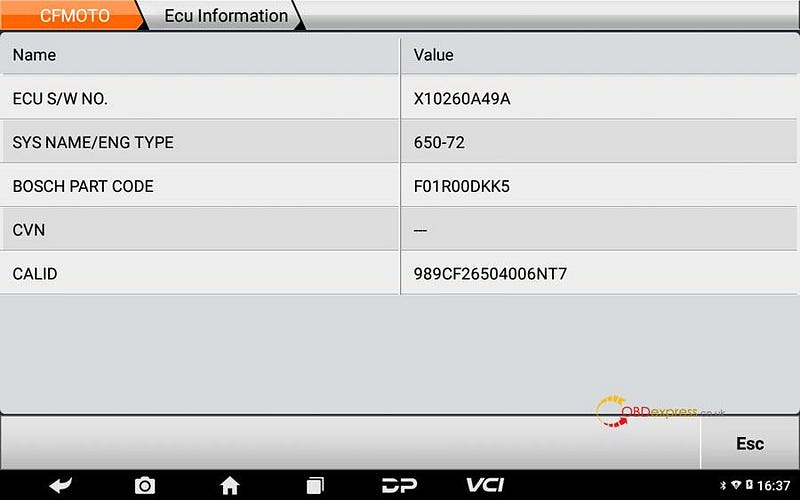
⑨If it can communicate, then the motorcycle is communicating via K
cable.
Diagnosing via CAN cables
①Judging from each pin boot's voltage as below, 1 pin boot (2.36V) and 3 pin
boot (3.98V) are for CAN communicating.
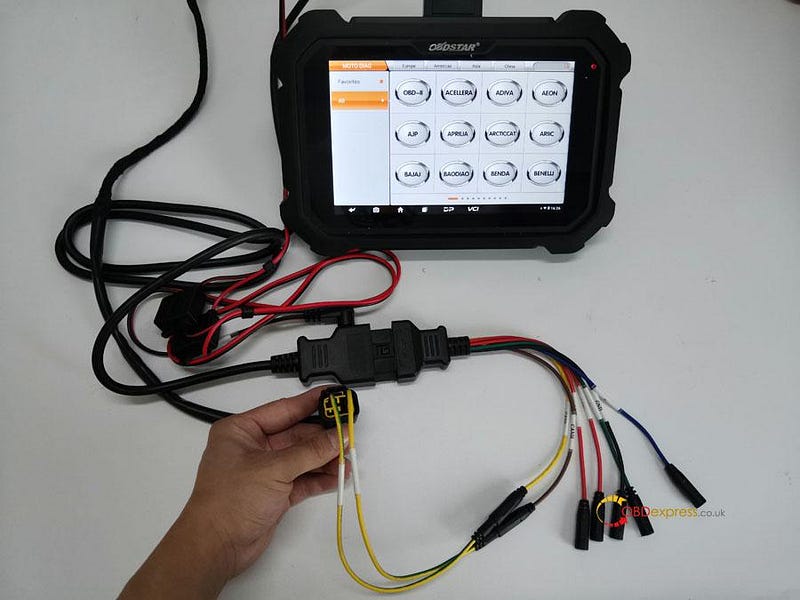
②Connecting M001A with MS80 and M003A, pls connect CAN-H cable (brown) of
M003A with 3 pin boot (3.98V) via 7 cable from M003A, connect CAN-L cable
(yellow) of M003A with 1 pin boot(3.98V) via another 7 cable from M003A.
Clipping the black clip of M002 onto battery negative and the red one onto
battery positive, then pls connect the other end of M002 onto M001A for
charging. Pls ensure the indicator at MS80 upper right is on.
Tips: If the indicator at MS80 upper right is off, then it might be 5A fuse
has been broken. If a new one is broken again, pls check the motorcycle's
voltage is normal.
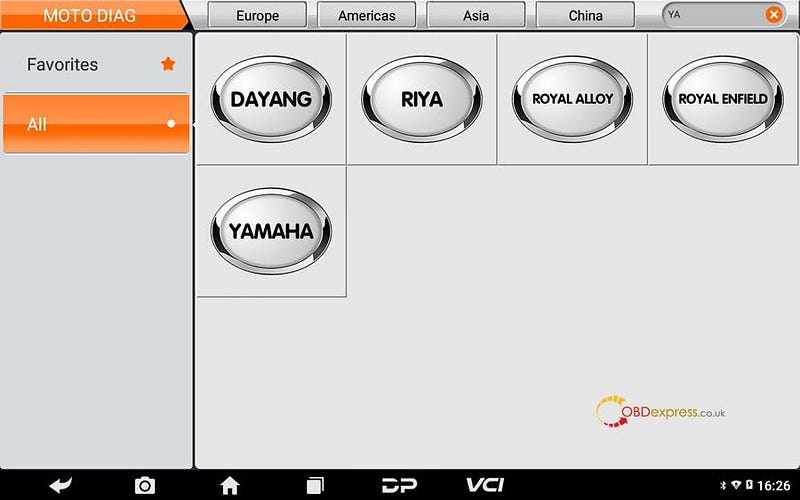
③Click [All], input letters such "YA" in search bar, click [YAMAHA];
Tips: by searching keywords, find out related models quickly.
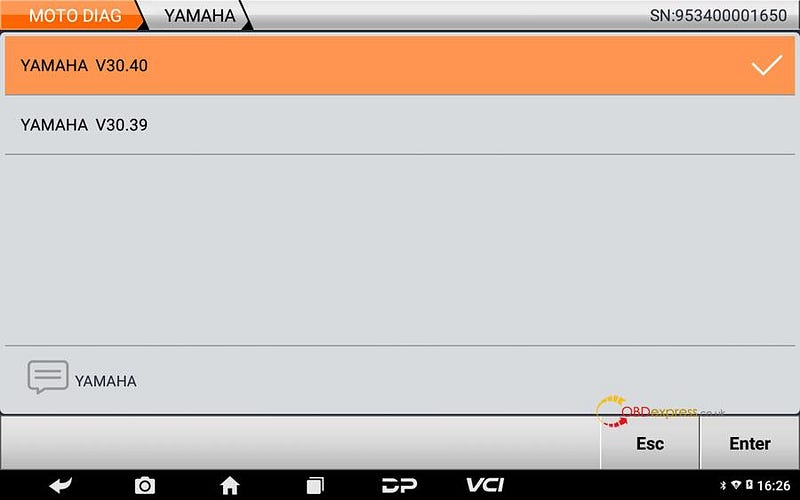
④Click the newest YAMAHA edition;
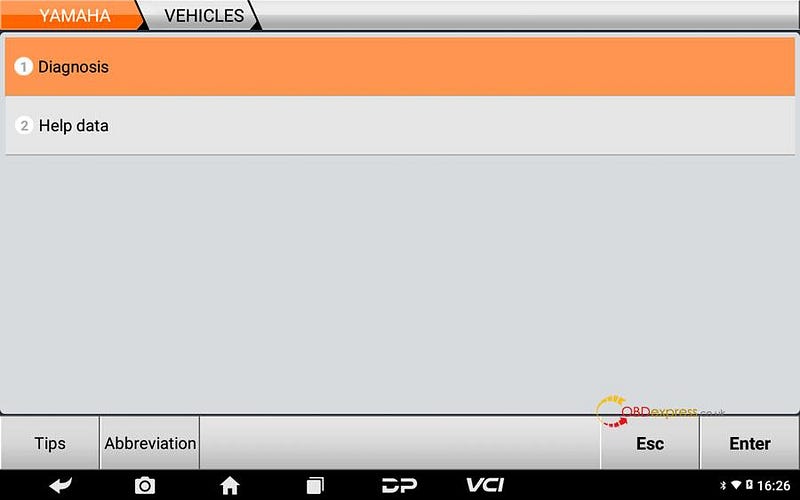
⑤Click [Diagnosis];
Tips: help data includes diag socket, diag connector, technical bulletin,
wiring diagram help data files.
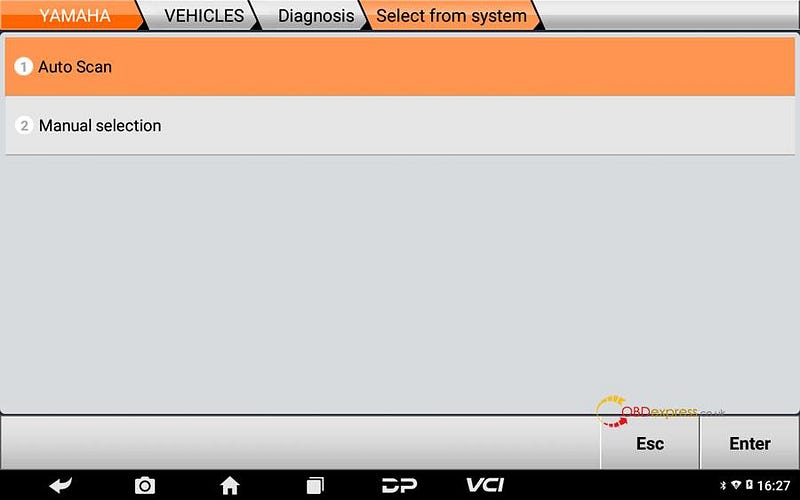
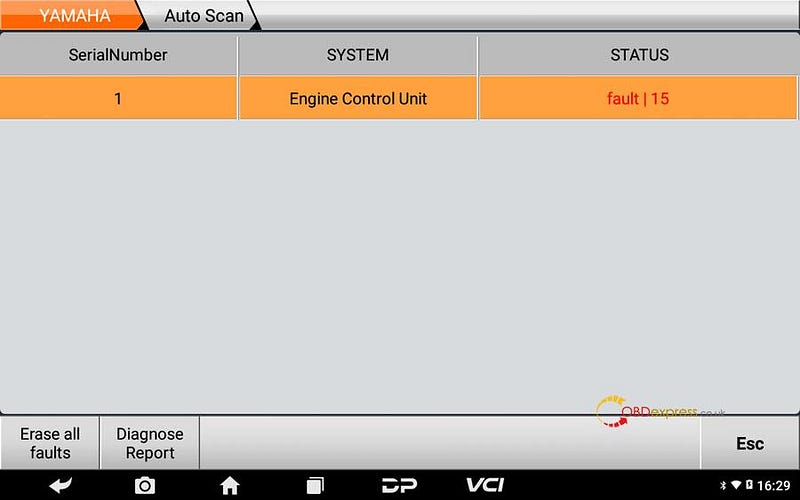
⑥Click [Auto Scan] or [Manual selection];
⑦Click [All Protocol Scan] or [Standard Protocol(CAN/KWP)];
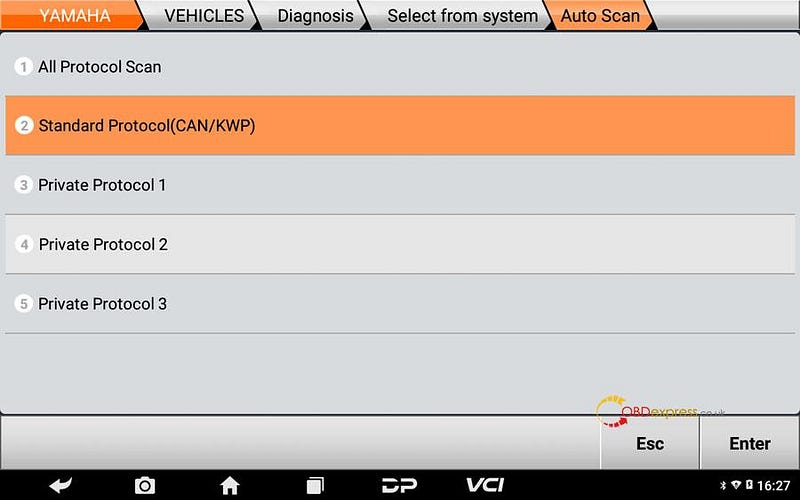
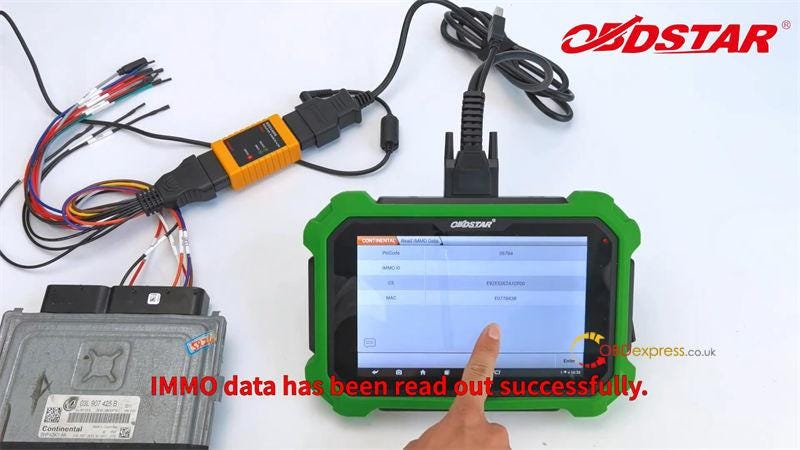
⑧If it can communicate, then the motorcycle is communicating via CAN cables,
can click [fault] for more details.

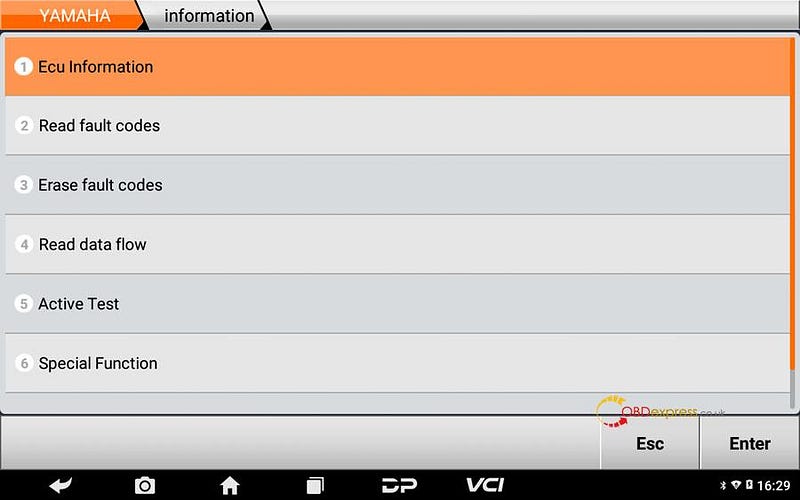
⑨Click [?] can check how to solve the fault;
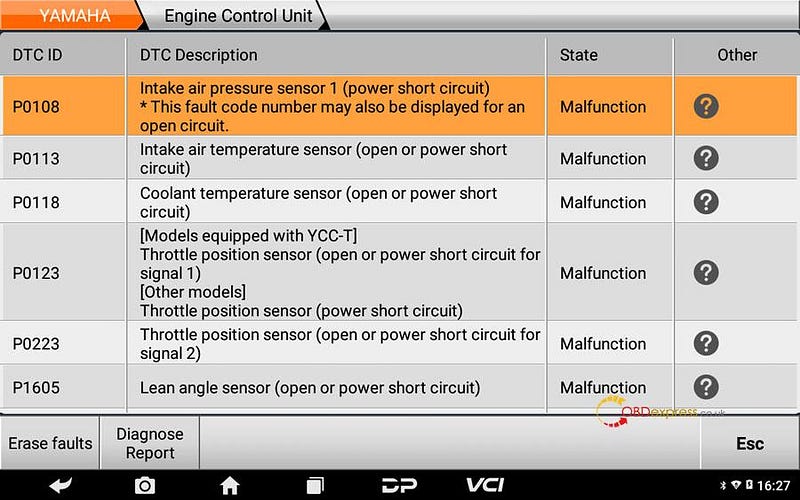
⑩Click [Engine Control Unit] can enter into engine system;
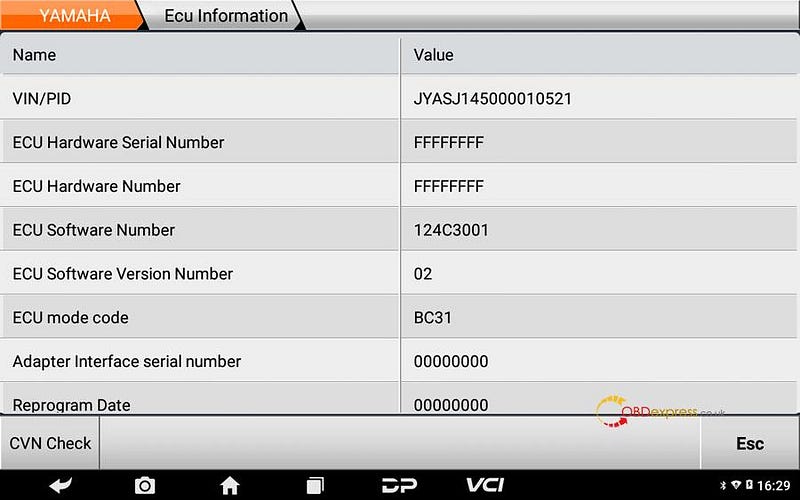
⑪Operations done, the problem got solved.
Pls strictly follow your device tips in your operation process. Technical
support: obdexpress.co.uk